Introduction to Airbrushing
with Eric Lalonde
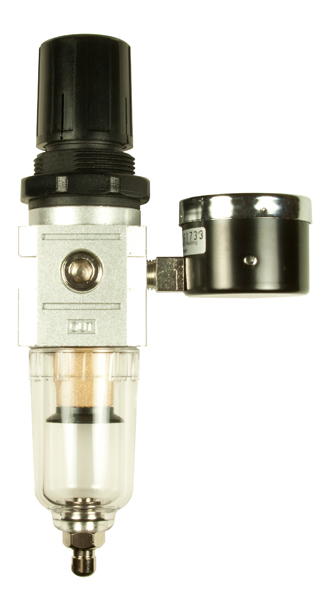
Regulators, Gauges, and Moisture Traps
Regulators do just that; regulate air pressure for the tool you are using. They all work the same; turn the dial to adjust air pressure.
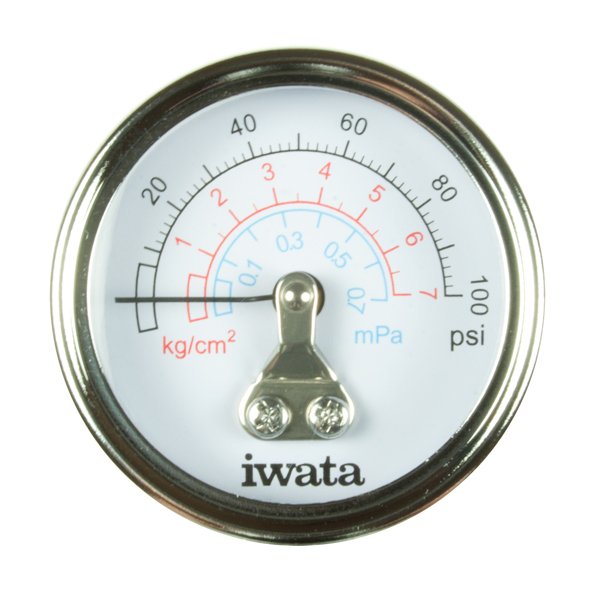
Gauges: will give you optimum performance with a reading in 2psi increments.
Moisture Traps: trap moisture. Compressor will heat up which creates moisture, this moisture could travel through your air hose a reach your model. Moisture traps are generally attached to the compressor; however, it is more proficient to keep your moisture trap at least 15-18 inches away from the compressor which allows the air to cool a bit before reaching the moisture trap.
When using an inline moisture trap always keep it vertical with the water drain at the bottom. Using 2 moisture traps is not a bad idea if you live in a high humidity region, like Miami Florida, or even around here at certain times of the year. Inline traps retail for about $15.00.
Take any reasonable precaution that will enable you to succeed. Compressor with a tank serves as your second moisture trap; however, make sure to drain the water out occasionally so it doesn’t rust.
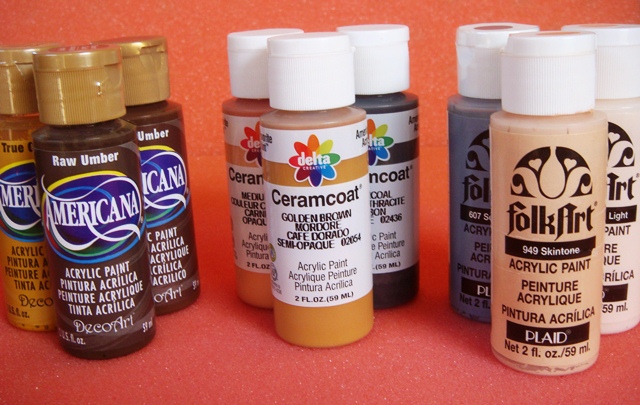
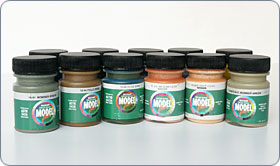
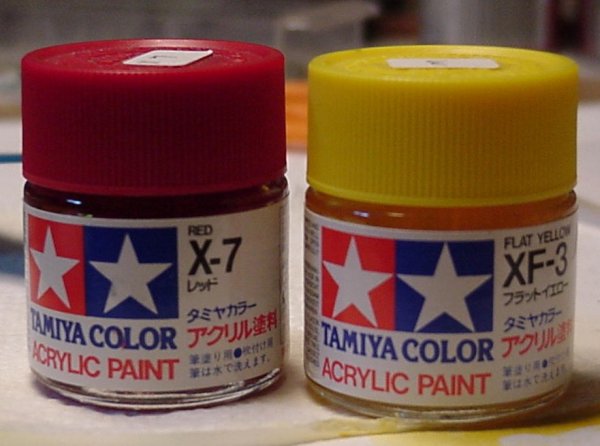
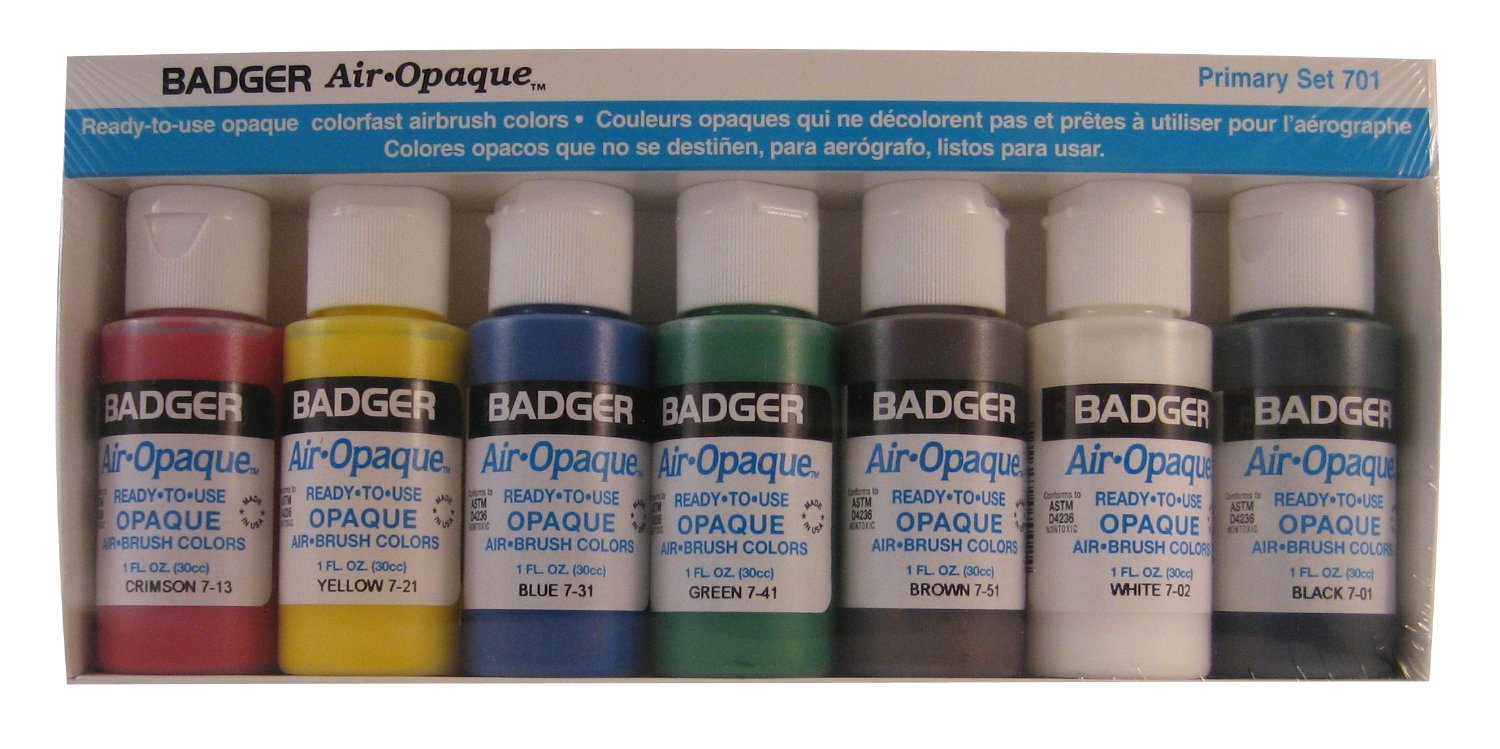
Paints
1st thing: Is what’s called the Viscosity Rule.
This means if you bring your paint to the viscosity of 2% milk, it should spray through your airbrush without trouble. Viscosity is very important with paint and manufactures always have their own thinning guidelines for their brand, for example, 2 to 1 ratio.
So if red paint has a thicker viscosity from their brown paint, and we thin them using their recommended 2 to 1 ratio, this could be a problem spraying through your airbrush. They wouldn’t spray the same. Disregard ratios for thinning paints and stick with the viscosity rule of 2% milk.
Some paints are more forgiving than others when it comes to airbrushing. Michael’s craft store paint will have a much different viscosity then regular airbrush paint. You could get craft paint to spray through an airbrush, but it will be a frustrating process, and will most likely clog.
2nd thing: Stirred/Not Shaken.
Shaking the paint will get the pigment off the bottom of the bottle to some extent, but is not generally the best approach. You are just agitating the paint, not really blending it. Some of you may put ball bearings or nuts in your paint which help to blend it better.
A good recommended method is mixing your paint the way the manufacture fills the bottle from the factory. Manufactures use constant blending methods so all bottles of paint are all the same. Benefits of mixing vs. shaking are that the pigment takes longer to settle in a well blended bottle of paint. The pigment will settle much quicker in a shaken bottle and mixing will give you constant pigment color throughout the entire bottle of paint. Shaking will also give you non-consistent pigment color, watery at the top of the bottle, and thick pigment at the bottom of the bottle.
Water Based paints: thin with water. (Distilled water if you will be storing unused paint) and clean with manufacturing recommended for their specific paint, or an ammonia based cleaner like Windex.
Enamels and Lacquers: thin with manufactures recommended thinner. Lacquer Thinners. Clean with mineral spirits or manufacture recommended cleaner.
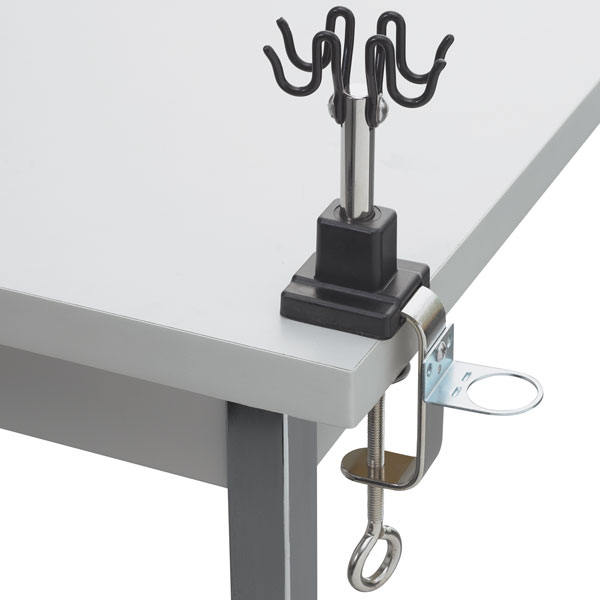
Airbrush Gadgets
All major brands have them:Airbrush holder-won’t realize you need one until you have an airbrush full of paint and nowhere to put it down.
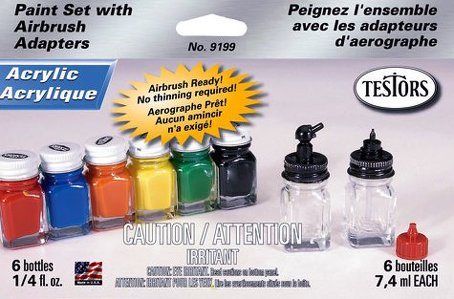
Paint lid adapters- come in all sizes for different paint bottles. Great for bottom feed airbrushes.
Siphon Filters- are also for bottom feed airbrushes. Attaches to the siphon tube to help reduce unwanted debris in paint.
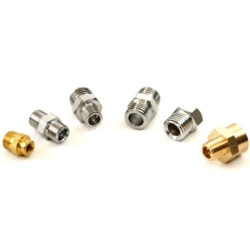
Hose accessories- (QD) quick disconnect. Also adaptors for multiple airbrush hook ups.
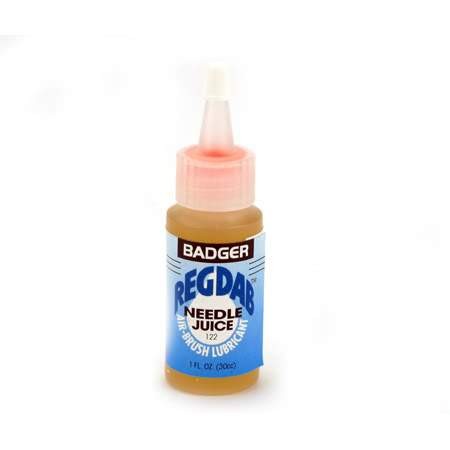
Needle Juice- coats the needle and helps to keep paint from drying to it. Reduces tip dry.
Airbrush Cleaning
Disassembly:
You should never have to disassemble your airbrush if you keep it properly cleaned. However in some cases disassembly maybe required in certain circumstances.
The only part that needs to be cleaned is the part that comes in contact with the paint:
- Needle
- Nozzle
- Paint tip
If you find paint anywhere else inside your airbrush, you may have a bad seal that requires maintenance.
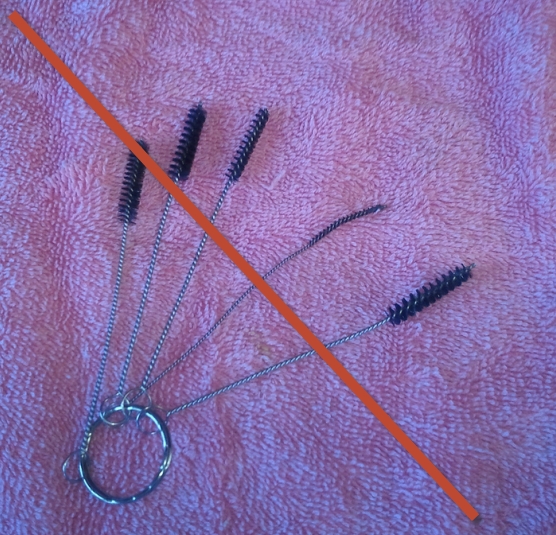
Inspect the needle, clean with a soft cloth and recommended cleaner. (I use Windex). Clean the tip with a Q tip if needed.It is not recommended to use any kind of stiff bristle cleaning kits on the market. These kits could compromise the seal area with a microscopic scratch and once this happens, your airbrush cannot be repaired and will void any warranty. These kits do more damage than good, and if you keep your airbrush properly cleaned, these cleaning kits will never be needed.
Reassembly:
Replace needle first, but do not tighten the needle chuck yet. Replace tip and then seat needle into tip gently, do not force. Then tighten needle chuck and your ready to spray.
Final Notes:
Remember that practice and patience will make you a better at airbrushing.
Trial and Error will make you more proficient with your airbrush.
Keeping your airbrush clean and never allowing product to dry in your airbrush will give you years of trouble free operation.